

How To Get Ink Out Of Pens
How to describe a character in pen and ink
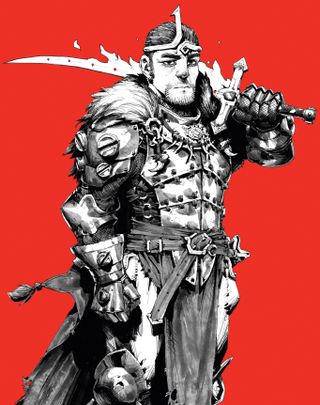
Equally an artist at a game studio I've forgotten most traditional mediums, only ink ever calls back to me. After a day of staring into monitors, I want nothing more to sit down with my sketchbook. In this tutorial, I'll walk through how to ink a grapheme with confidence – in this case, a moody warrior. Don't have the right tools already? Take a look at our guide to the best pens (opens in new tab) around.
I believe any creative person looking to learn how to draw people or mythical creatures and environments grounded in reality should put in the hours to study from life. I usually conduct around a Moleskine sketchbook (opens in new tab) for drawing on the go. Constantly arresting information, no matter how insignificant information technology may seem, adds to your ever-growing visual library.
- How to draw: the best drawing tutorials (opens in new tab)
I work pretty organically in pen and ink. At that place volition exist no grids, no measurements – I like to let the drawings breathe a bit. For a medium as permanent as ink, I find it helps to not become too married to the pencil drawing. (See our best pencils here (opens in new tab) to get stocked upwardly on materials.) Instead, I set of import landmarks, lock down a potent gesture, and dial in on things I'm not every bit confident at, such every bit fingers and legs. Once I'm hopeful that the final piece could exist cool, I switch out the pencil for the pen.
Click on the icon at the top of each image to enlarge it.
01. Starting time with thumbnails
(opens in new tab)
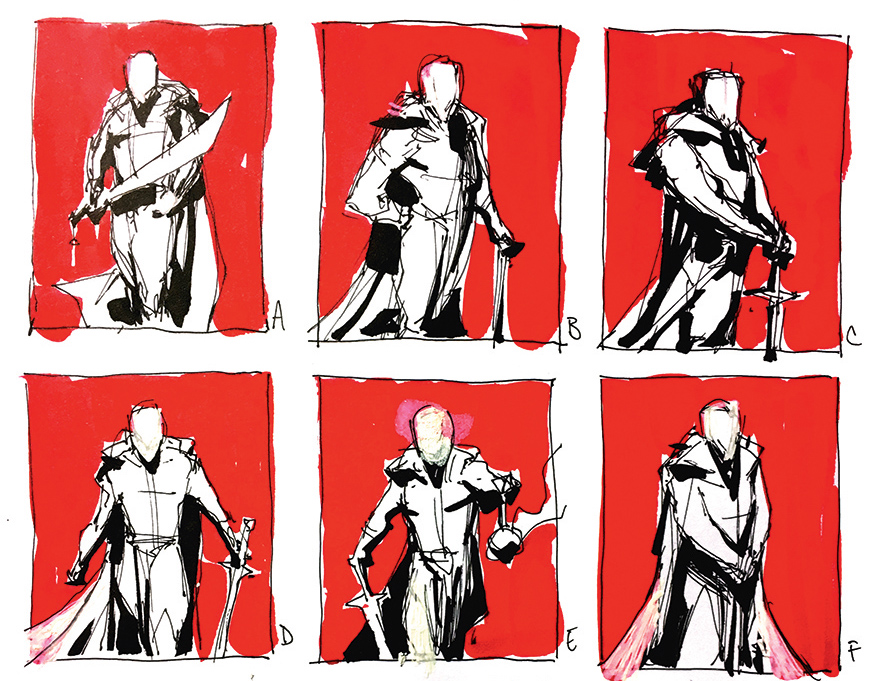
When sketching thumbnails, I'm never besides concerned with anatomy or costumes. I aim for a gesture, a stance, a feeling. I keep these vague every bit things volition inevitably shift a bit equally I go on. I like to employ a thick brush pen to see how shadows might autumn into place in the terminal design.
When I've started to pin down what I desire, I create a more specific thumbnail. This gives a better idea of what the final piece should be, but however keeps it small. Hither, I can start to remember almost what the face and armour could expect like, all without being forced to lock annihilation downwardly.
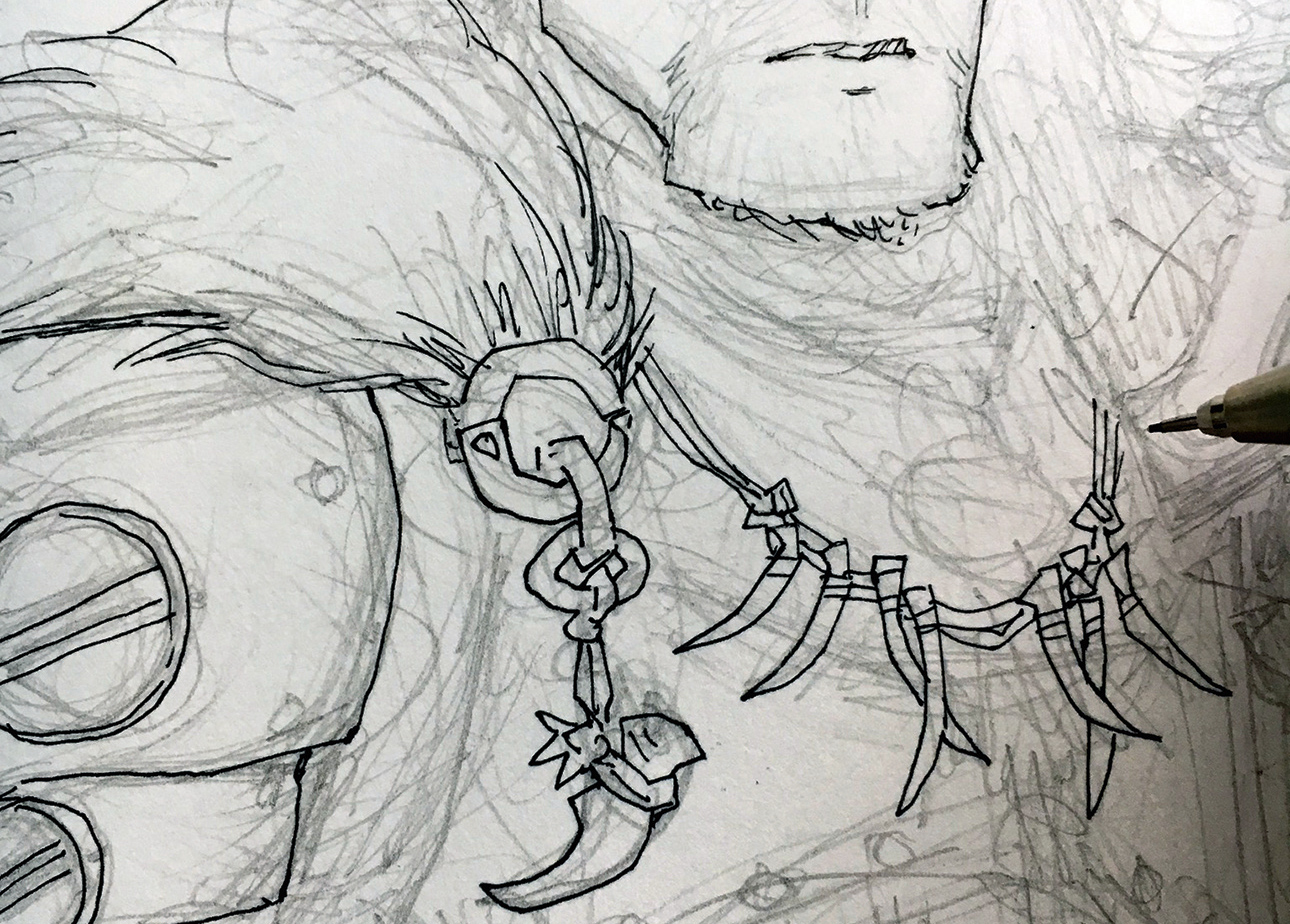
02. Explore costume ideas
(opens in new tab)
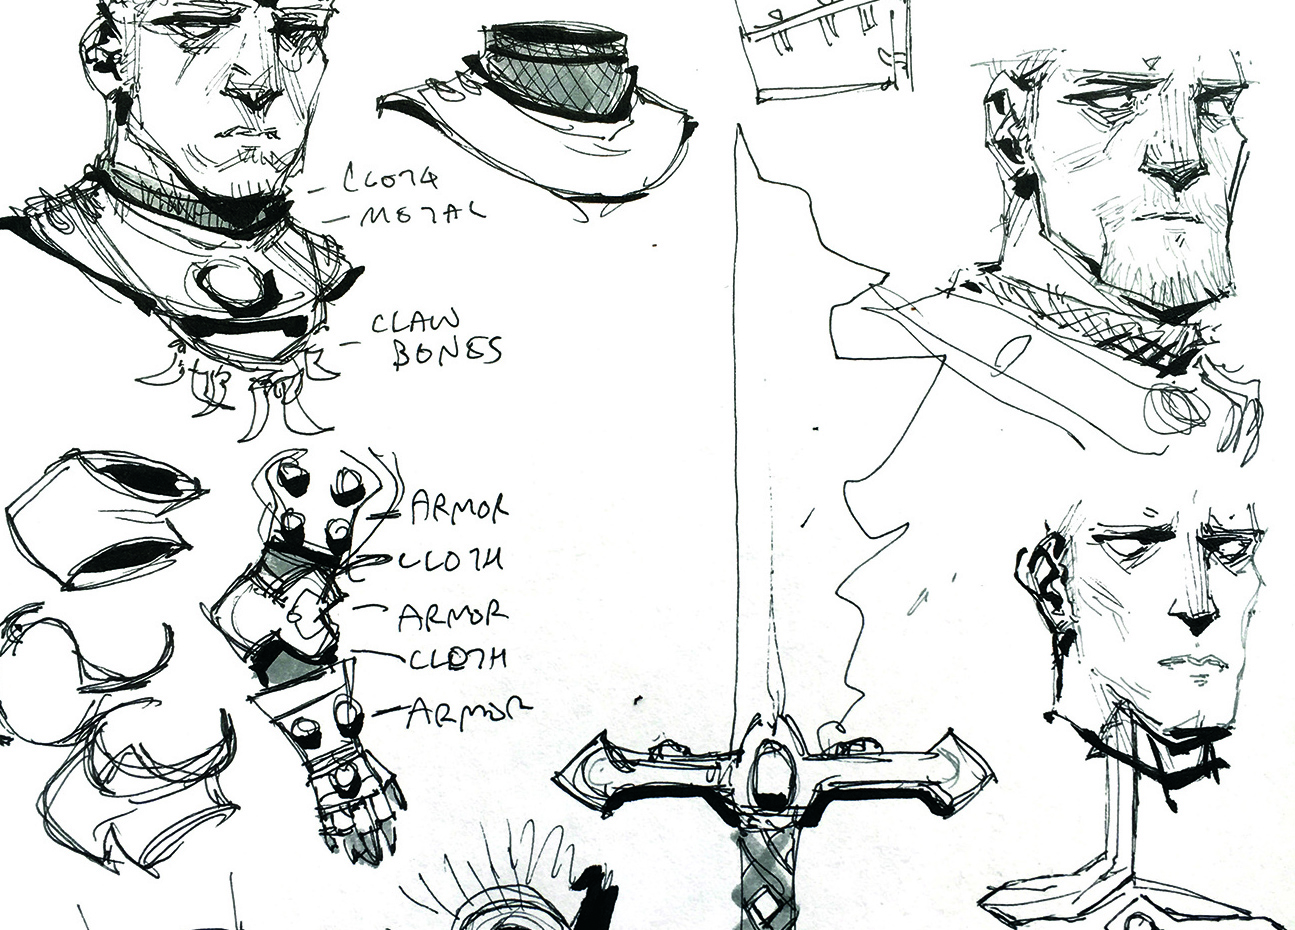
I make notes to myself separately so things don't become too muddled. I jot downwards details I want to include to make the figure feel similar an individual – here, the claw necklace, tassels on his cape, and scars. These mostly solidify my final thoughts so I don't spend too much fourth dimension erasing on my last paper.
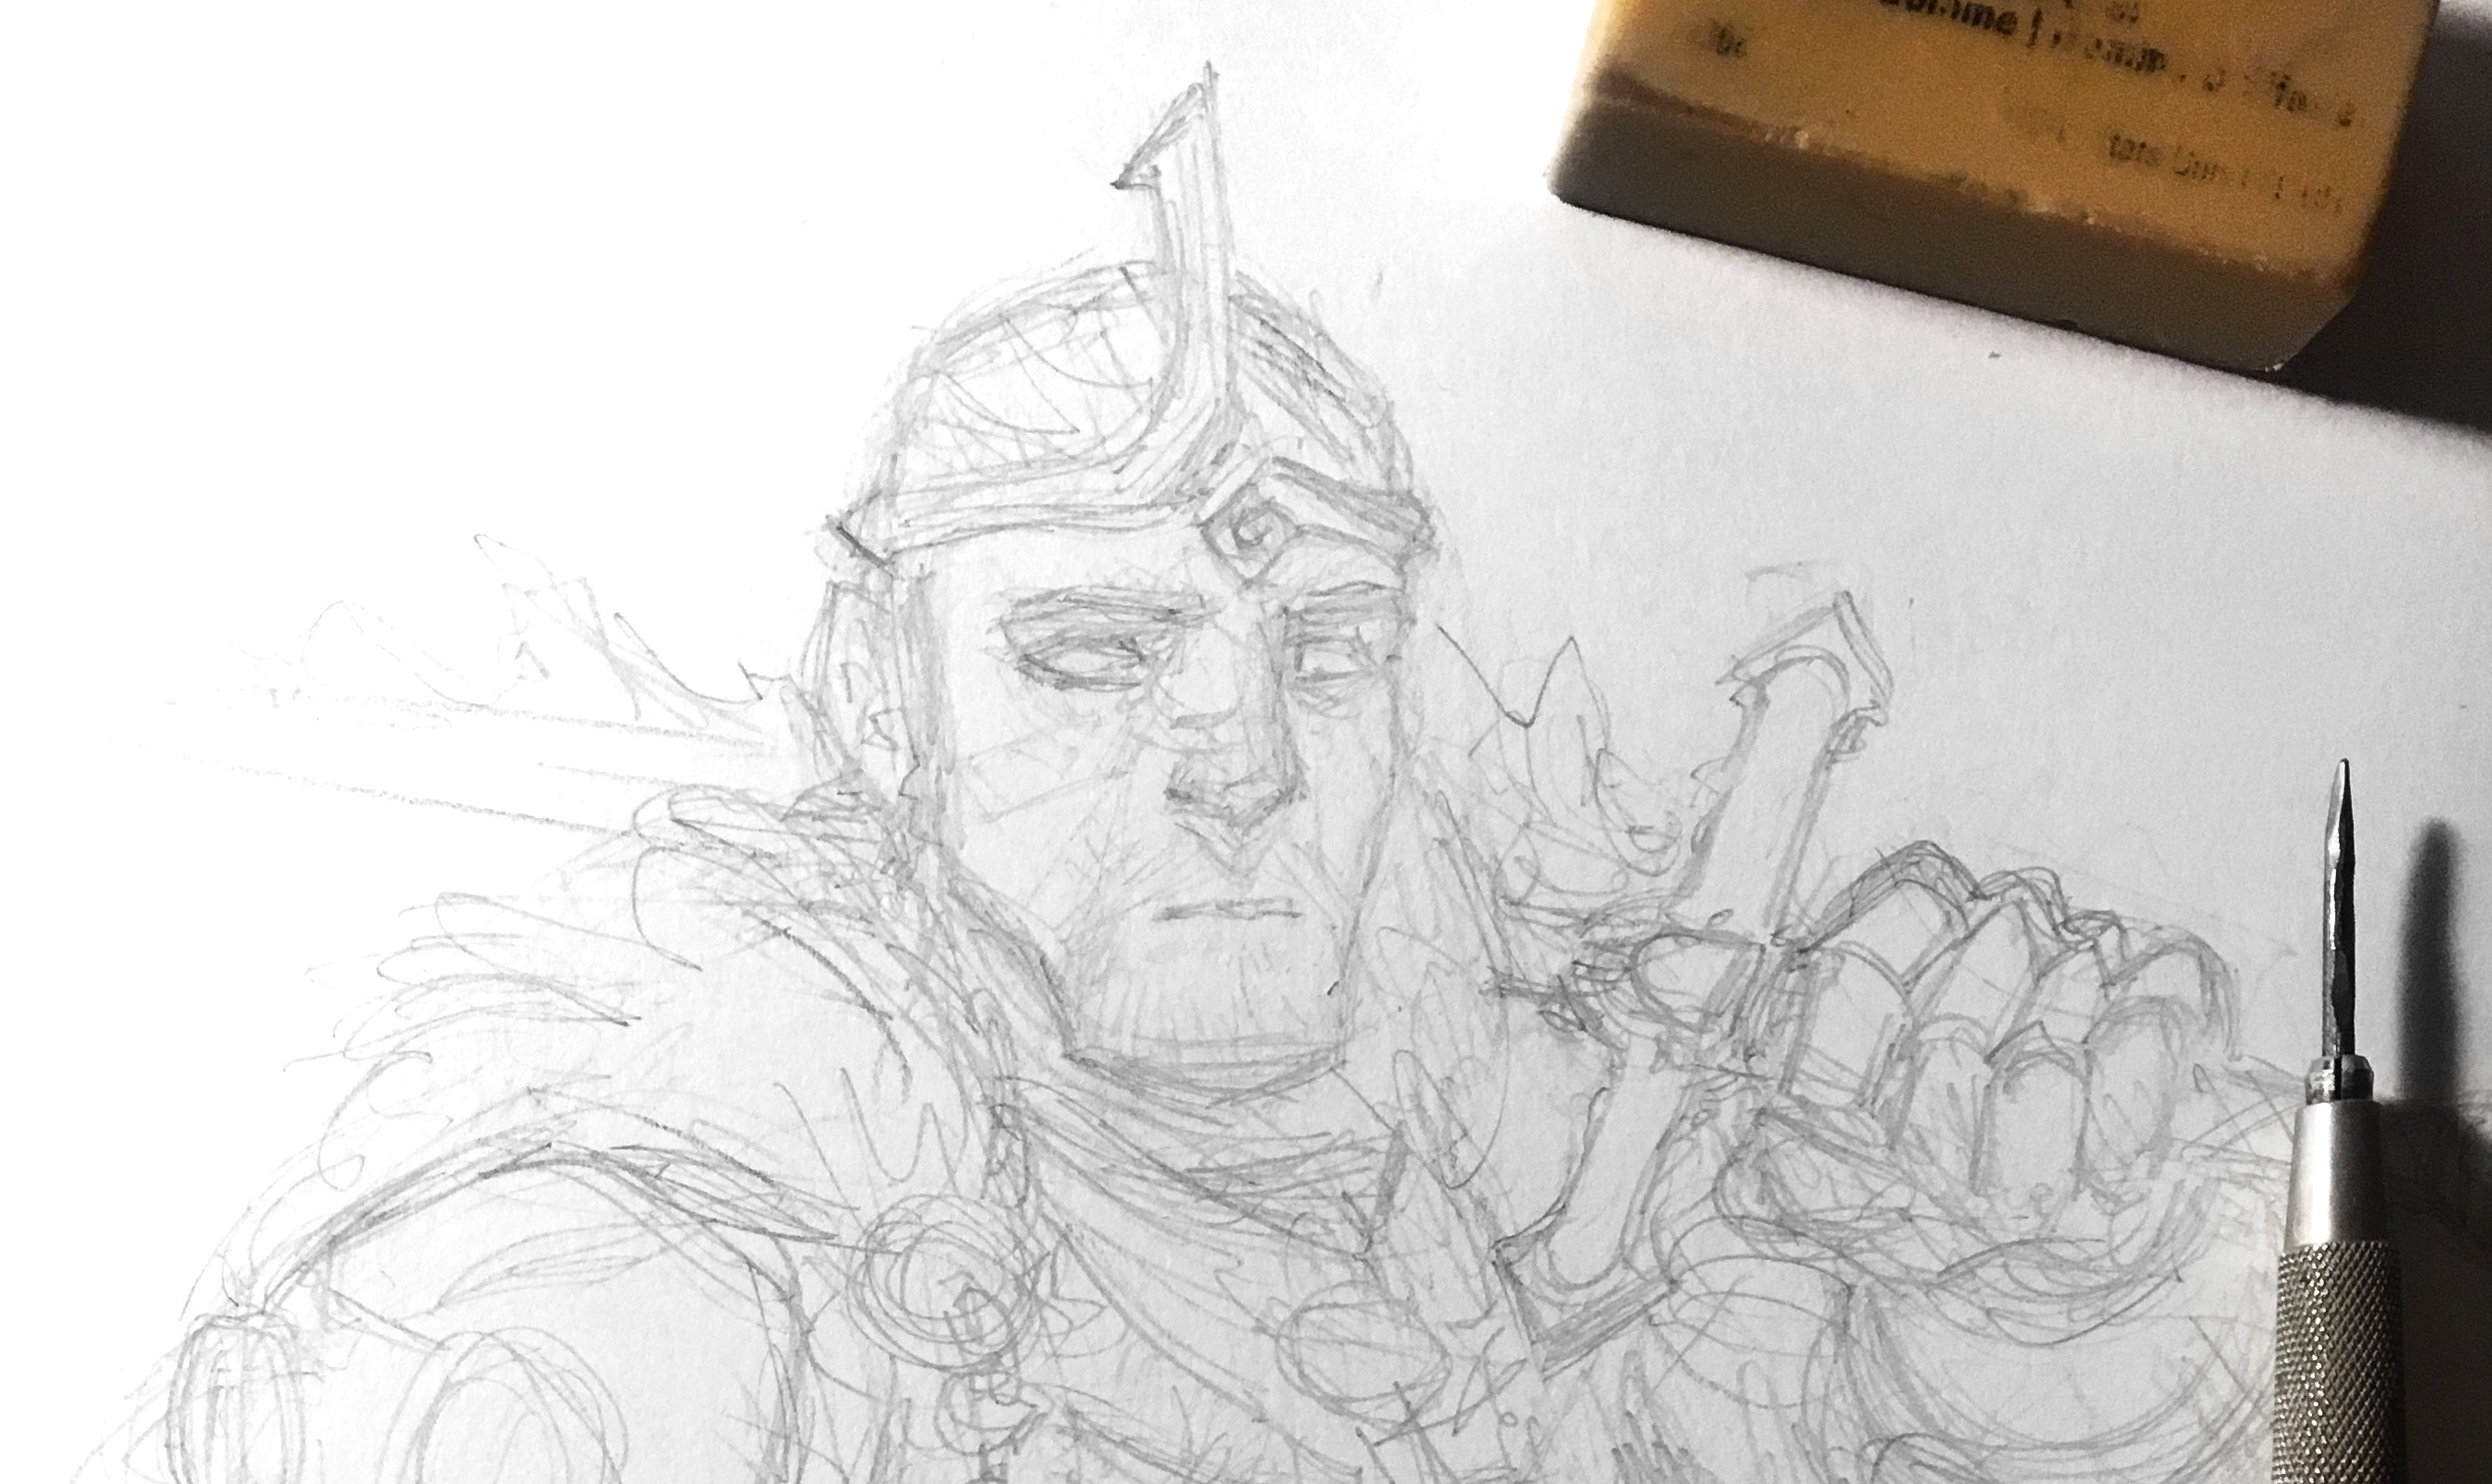
03. Produce a pencil sketch
(opens in new tab)
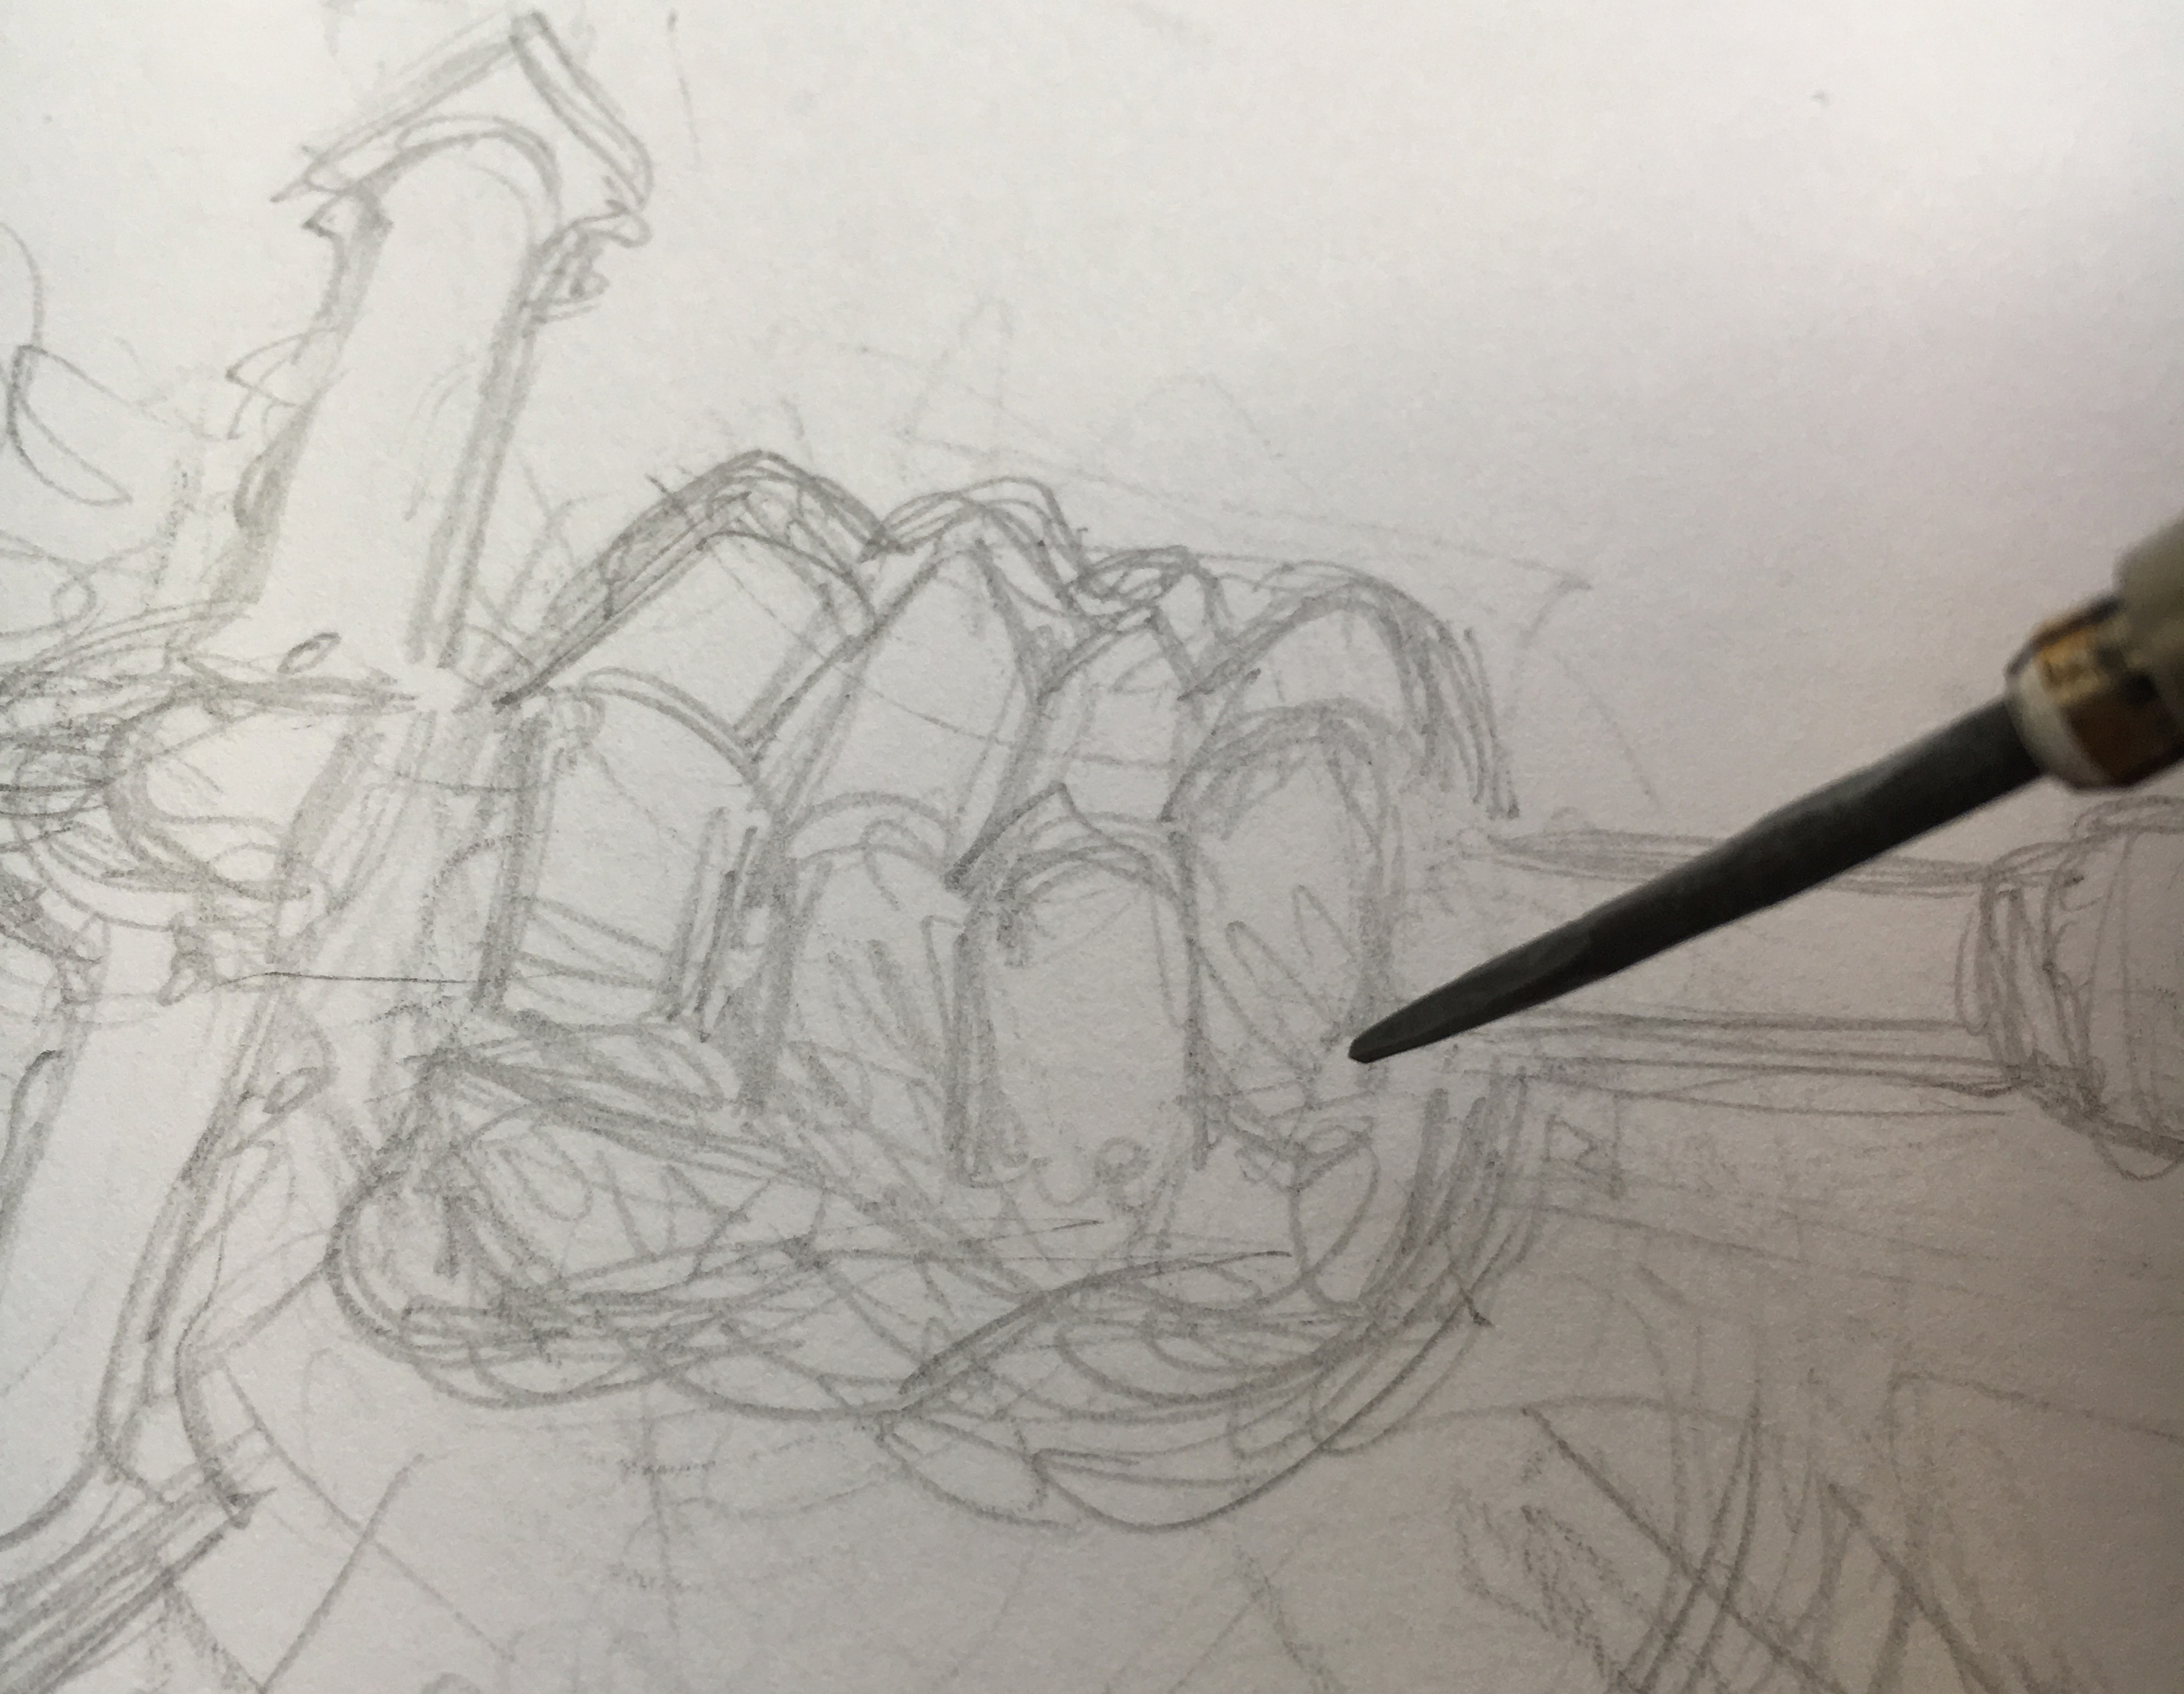
From the thumbnail I offset sketching out the final image with a 2H pencil so that the image remains light for all-time inking weather condition. For this slice I'g using Strathmore 9x12 Bristol pad (opens in new tab). At this phase, I'thou just making sure all the major elements are in the correct position before I showtime narrowing in on details.
I want to focus on the face up, hands and sword, and so I'll spend a piffling more fourth dimension clearing those up for myself. I like to keep the rest of the sketch equally loose as possible to preserve a little spontaneous energy equally I get-go to ink.
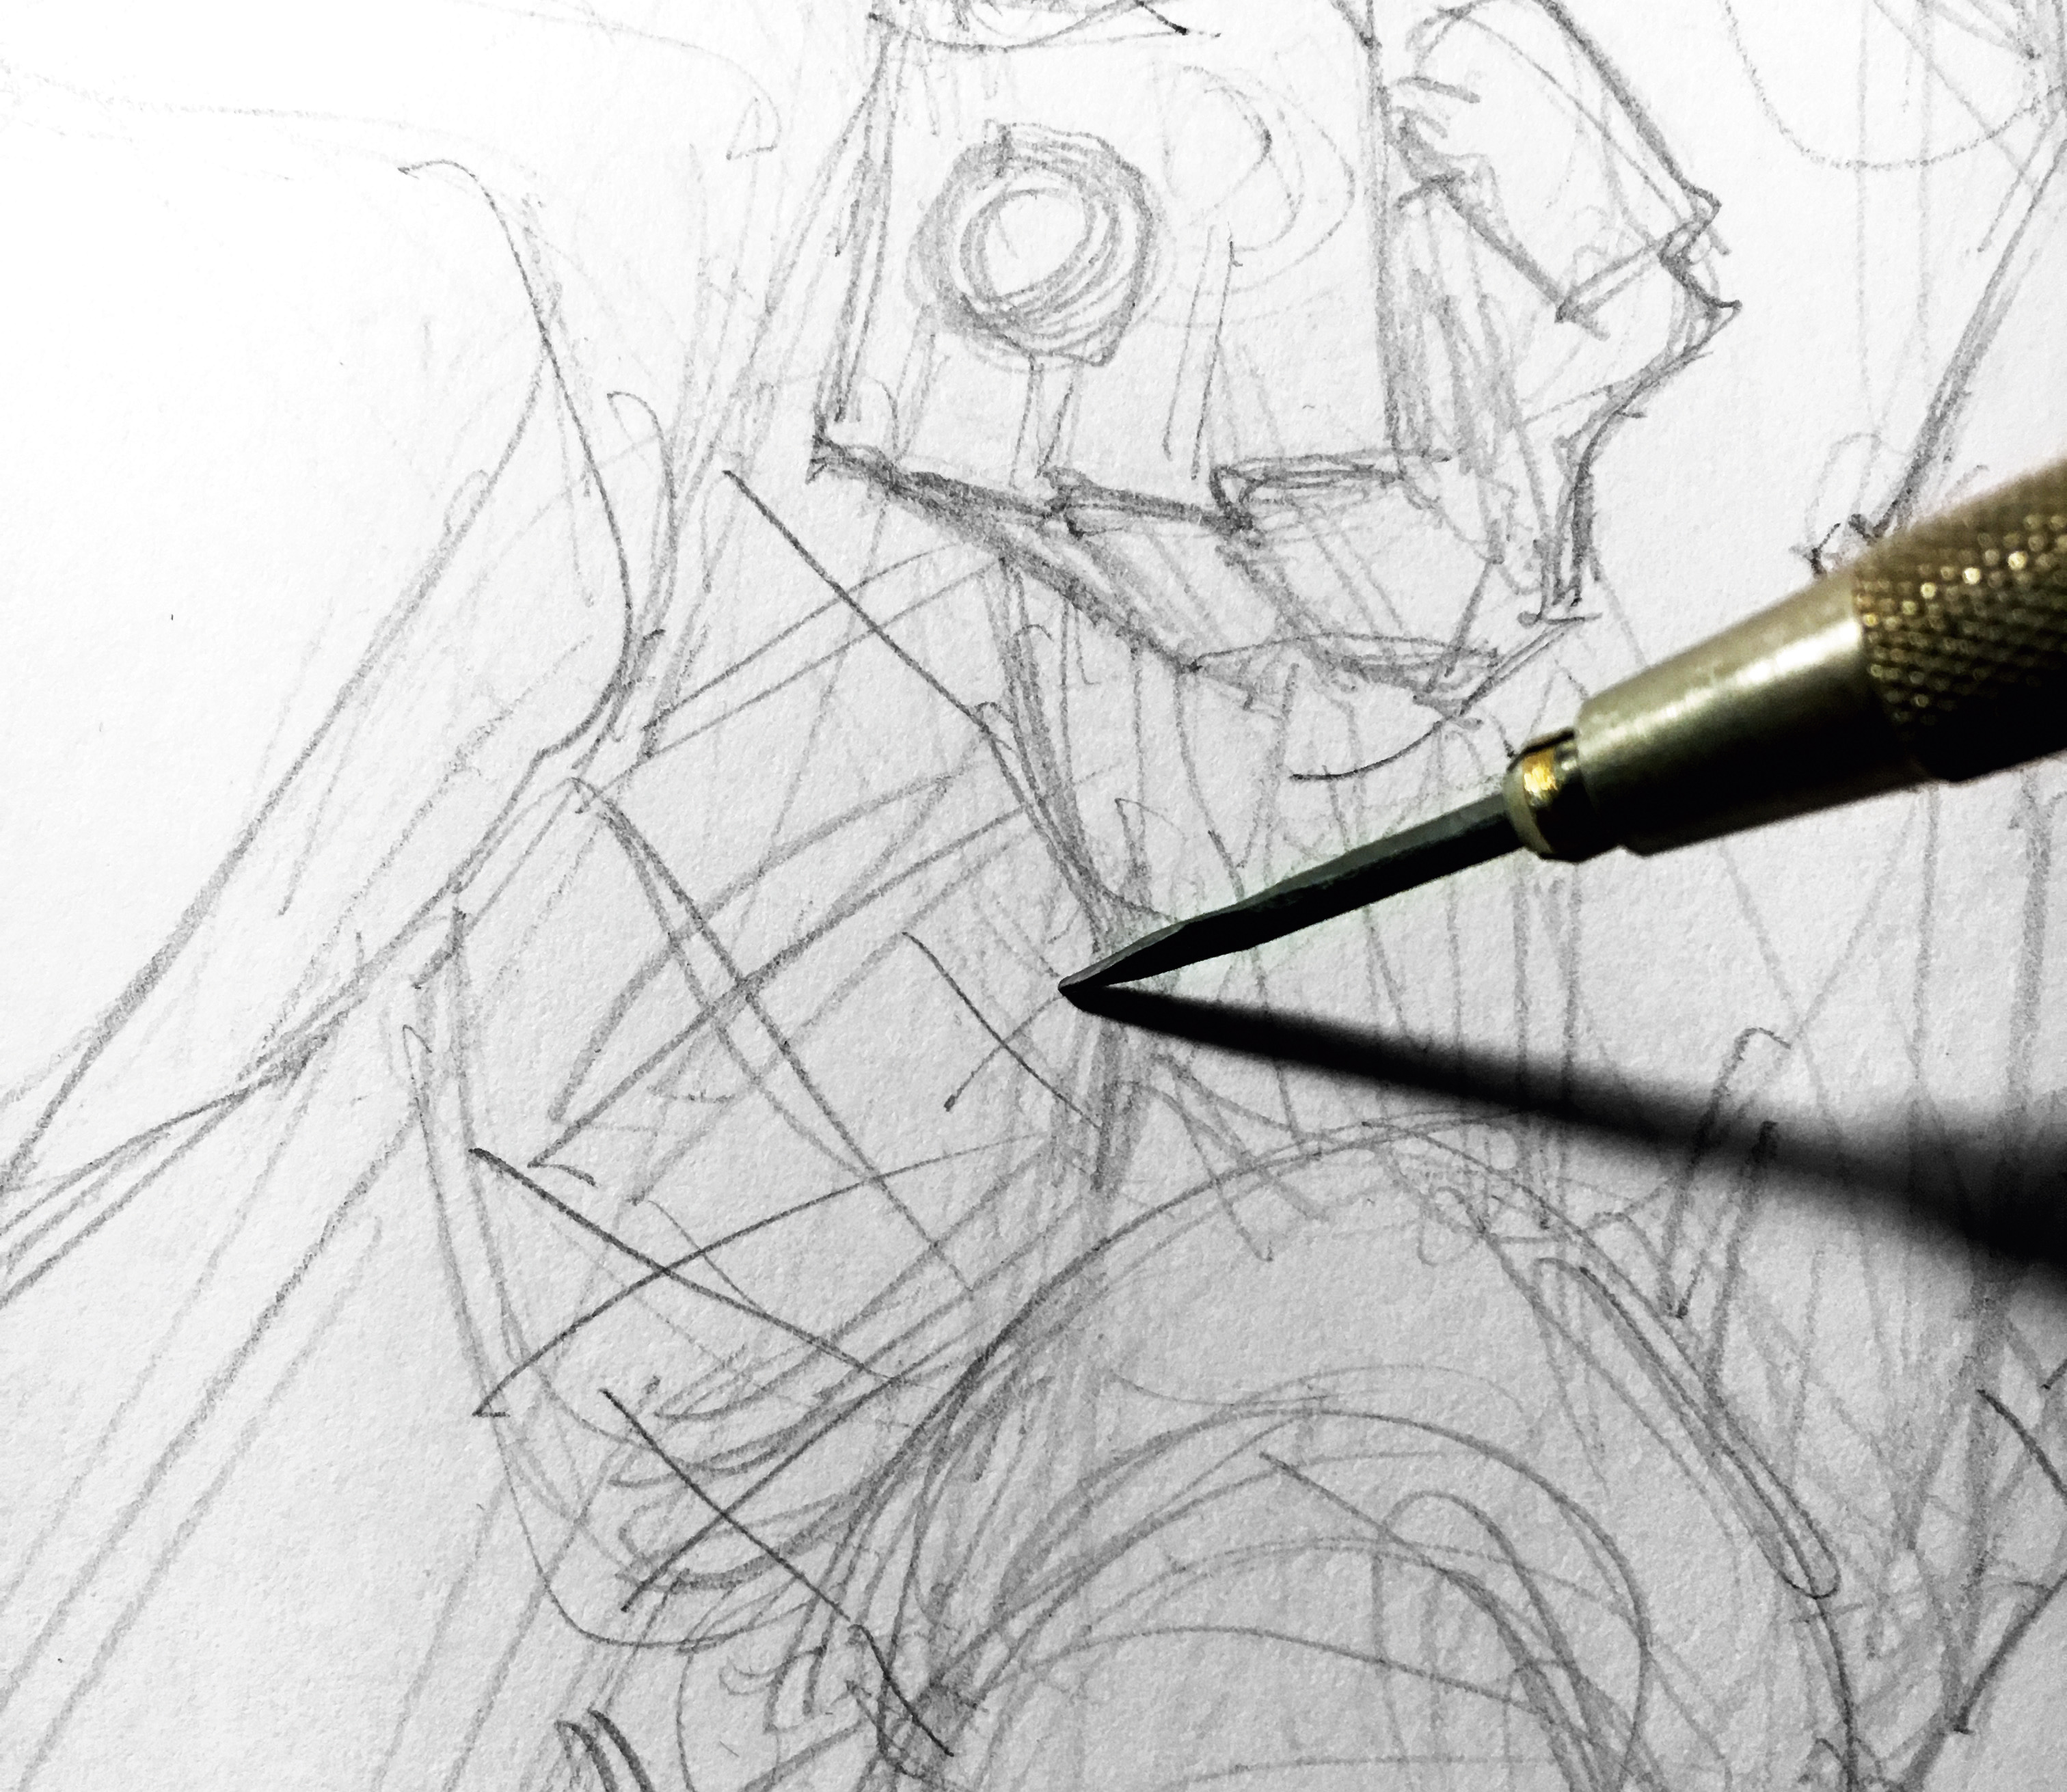
04. Make adjustments
(opens in new tab)
I step back and give the final image a await over to bank check my proportions. I accept into account the effigy's muscle structure underneath the armour to make certain everything is believable. I have to brand small adjustments to give him the bulk I desire.
Since the face is the well-nigh important focal bespeak, I spend nearly of my fourth dimension getting it correct earlier I start lining. He'due south a warrior prince; he should look a footling worn and weary, yet nevertheless regal. If I have to, I'll pull upward a portrait reference to make sure it looks just correct.
05. Mark out the shadows
(opens in new tab)
The terminal step earlier I move into ink is to plan out where I desire to add shadows using Xs where any areas of solid blackness will sit. I accept into consideration where I desire to lead the viewer's middle – it's a good thought to create a lot of contrast around whatever focal points such as the confront, easily and sword.
06. Get started with ink
(opens in new tab)
Take a shot of whiskey, because in that location'southward no second guessing yourself hither: It's time to start inking. For this piece, I'chiliad starting with a diverseness of Airplane pilot Hi-Tec-C (opens in new tab) ink pens. If something tin exist done with ane stroke, never apply two – also oftentimes I run into an artist who'southward new to ink employ 10 strokes with what can be accomplished with one. Practice the route in the air above your art, and and so execute perfectly.
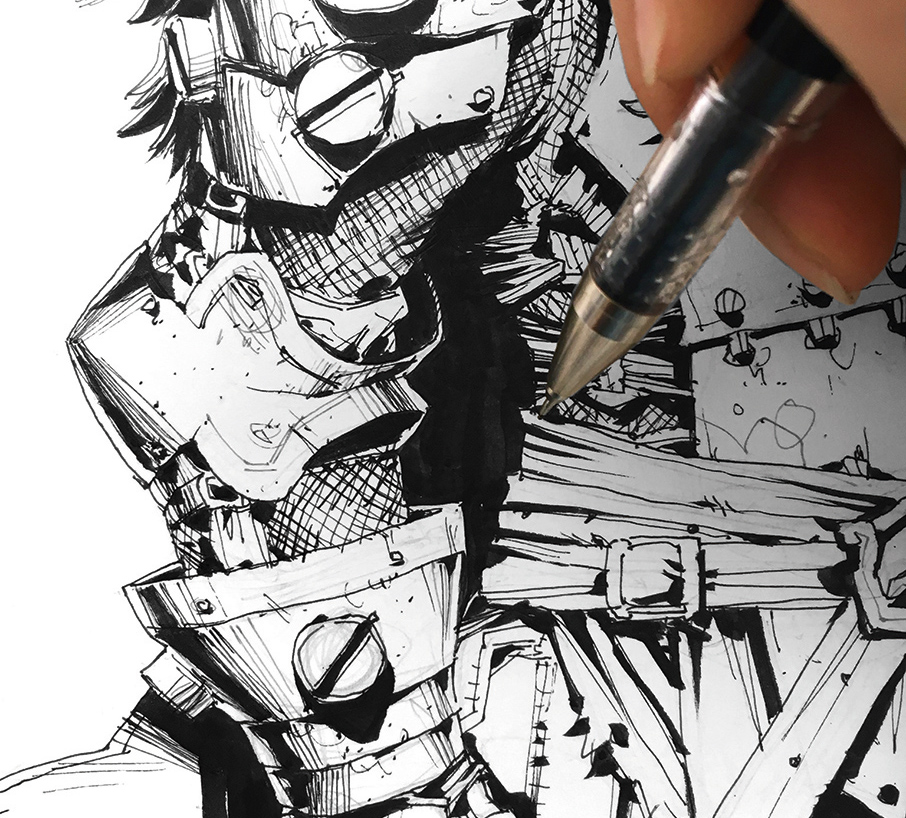
07. Develop different textures
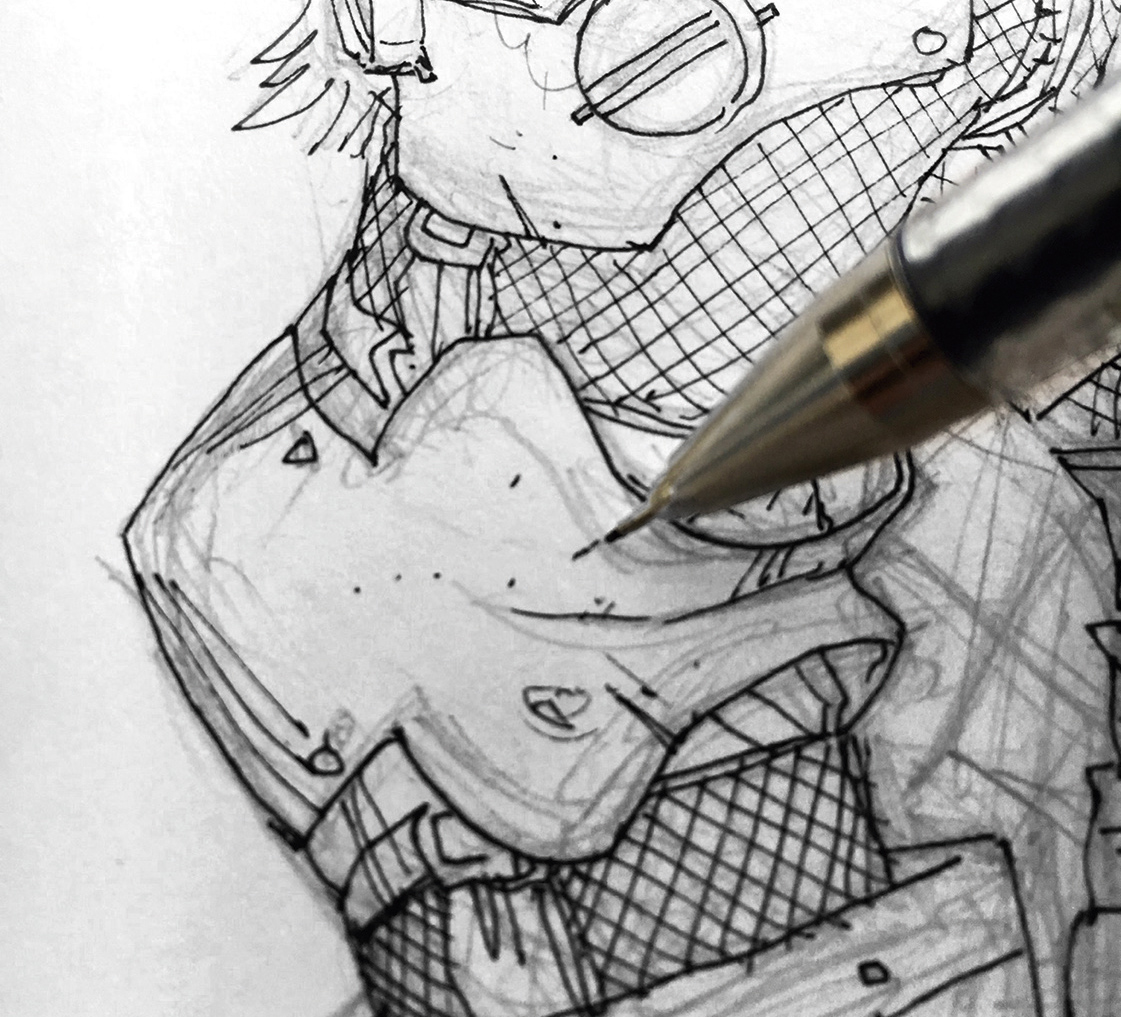
(opens in new tab)
I accept a few different materials I want to convey hither, such as fur, metal and cloth. All of these can be distilled down with specific details. Fur can be shown through big clumps and individual strands, metal with nicks and dents, and cloth with weave patterns.
08. Piece of work on the shadows
(opens in new tab)
With a brush pen (I'1000 using i by Pentel (opens in new tab)), I start filling in large spots and hitting small dabs of ink in areas that I identify won't receive light in a manner similar to ambience occlusion on a 3D model. These shadows start to give weight and dimension to the grapheme, and assistance pop him out.
Bandage shadows tin remain harsh, but form shadows demand to be softened, then I go back to the Hi-Tec-C and beginning hatching. I use my whole gamut of pens ranging from 0.25 to 0.iv, and grey to reach my desired level of smoothness between the brush pen and the thinner ink lines.
For advice on which pens to buy, run into our best pens (opens in new tab) ownership guide.
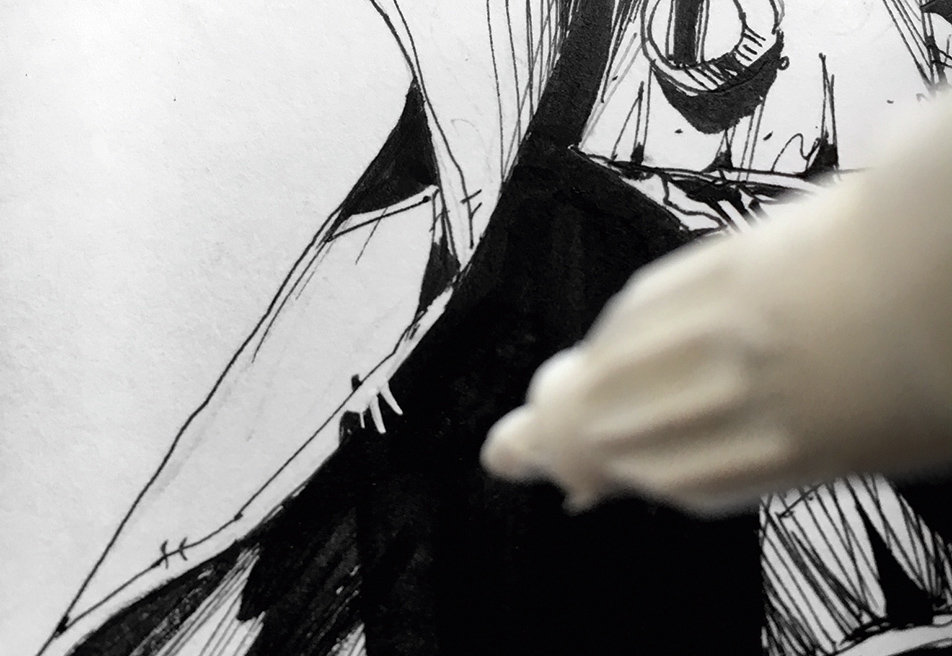
09. Clean upwardly the image with white highlights
(opens in new tab)
With a Molotow (opens in new tab) white paint pen, I can option out details such every bit devious hairs from spots previously covered in black. I apply this technique sparingly to keep the surface of the piece equally clean as possible, while also providing a nice, finished wait. I tin can besides use the pen to fix minor accidents.
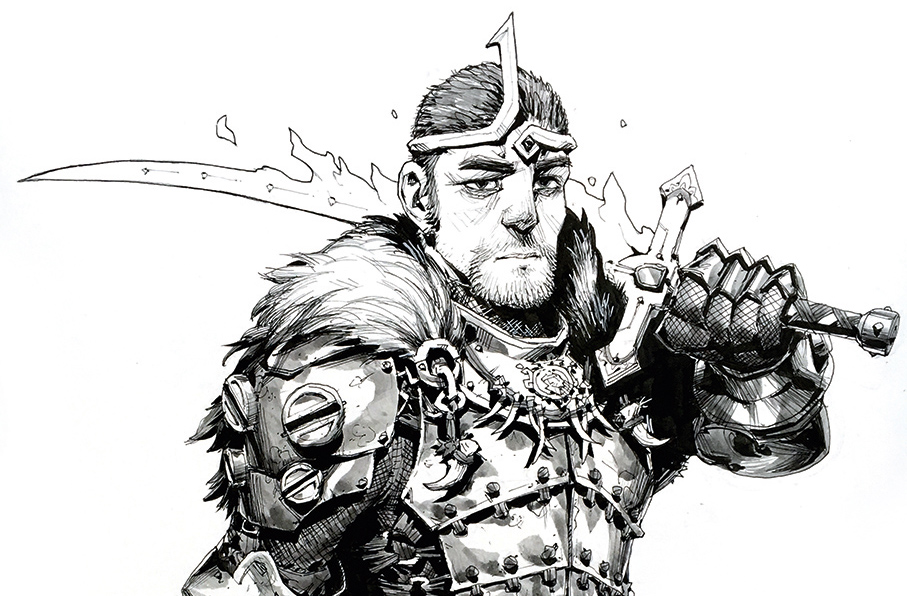
x. Bring in a grayness tone
(opens in new tab)
The theory behind the employ of my grey wash is to reinforce my focal points and materials, namely anything reflective such every bit polished metallic. The absence of the launder in this case leaves behind the bare white page, picking out a highlight and effectively communicating what the armour is fabricated of.
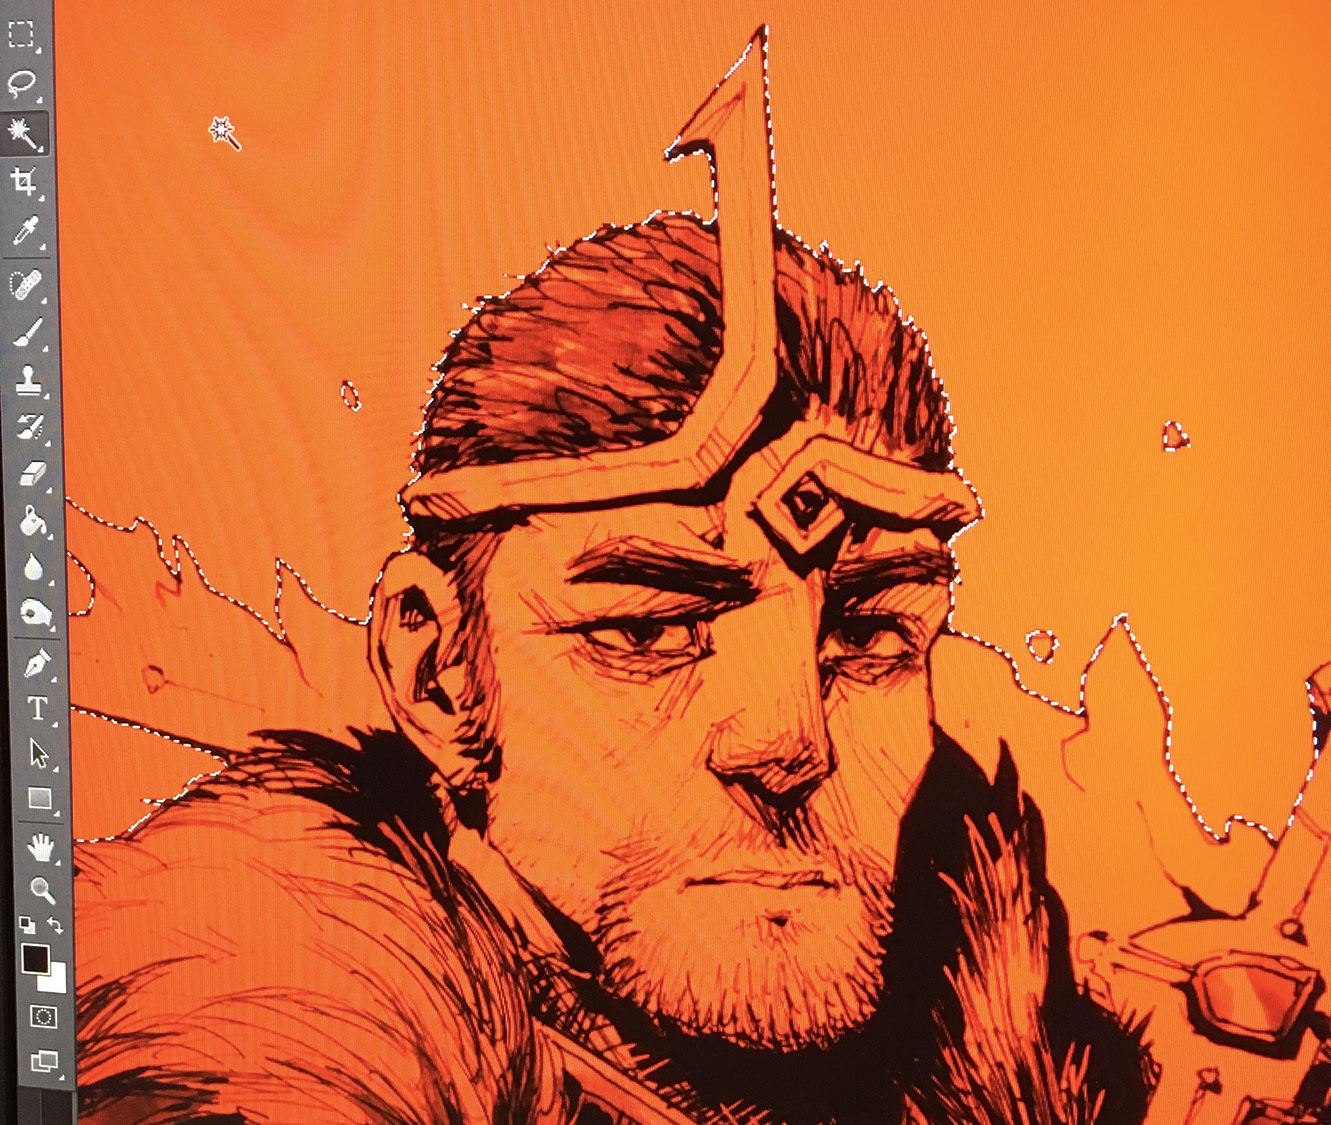
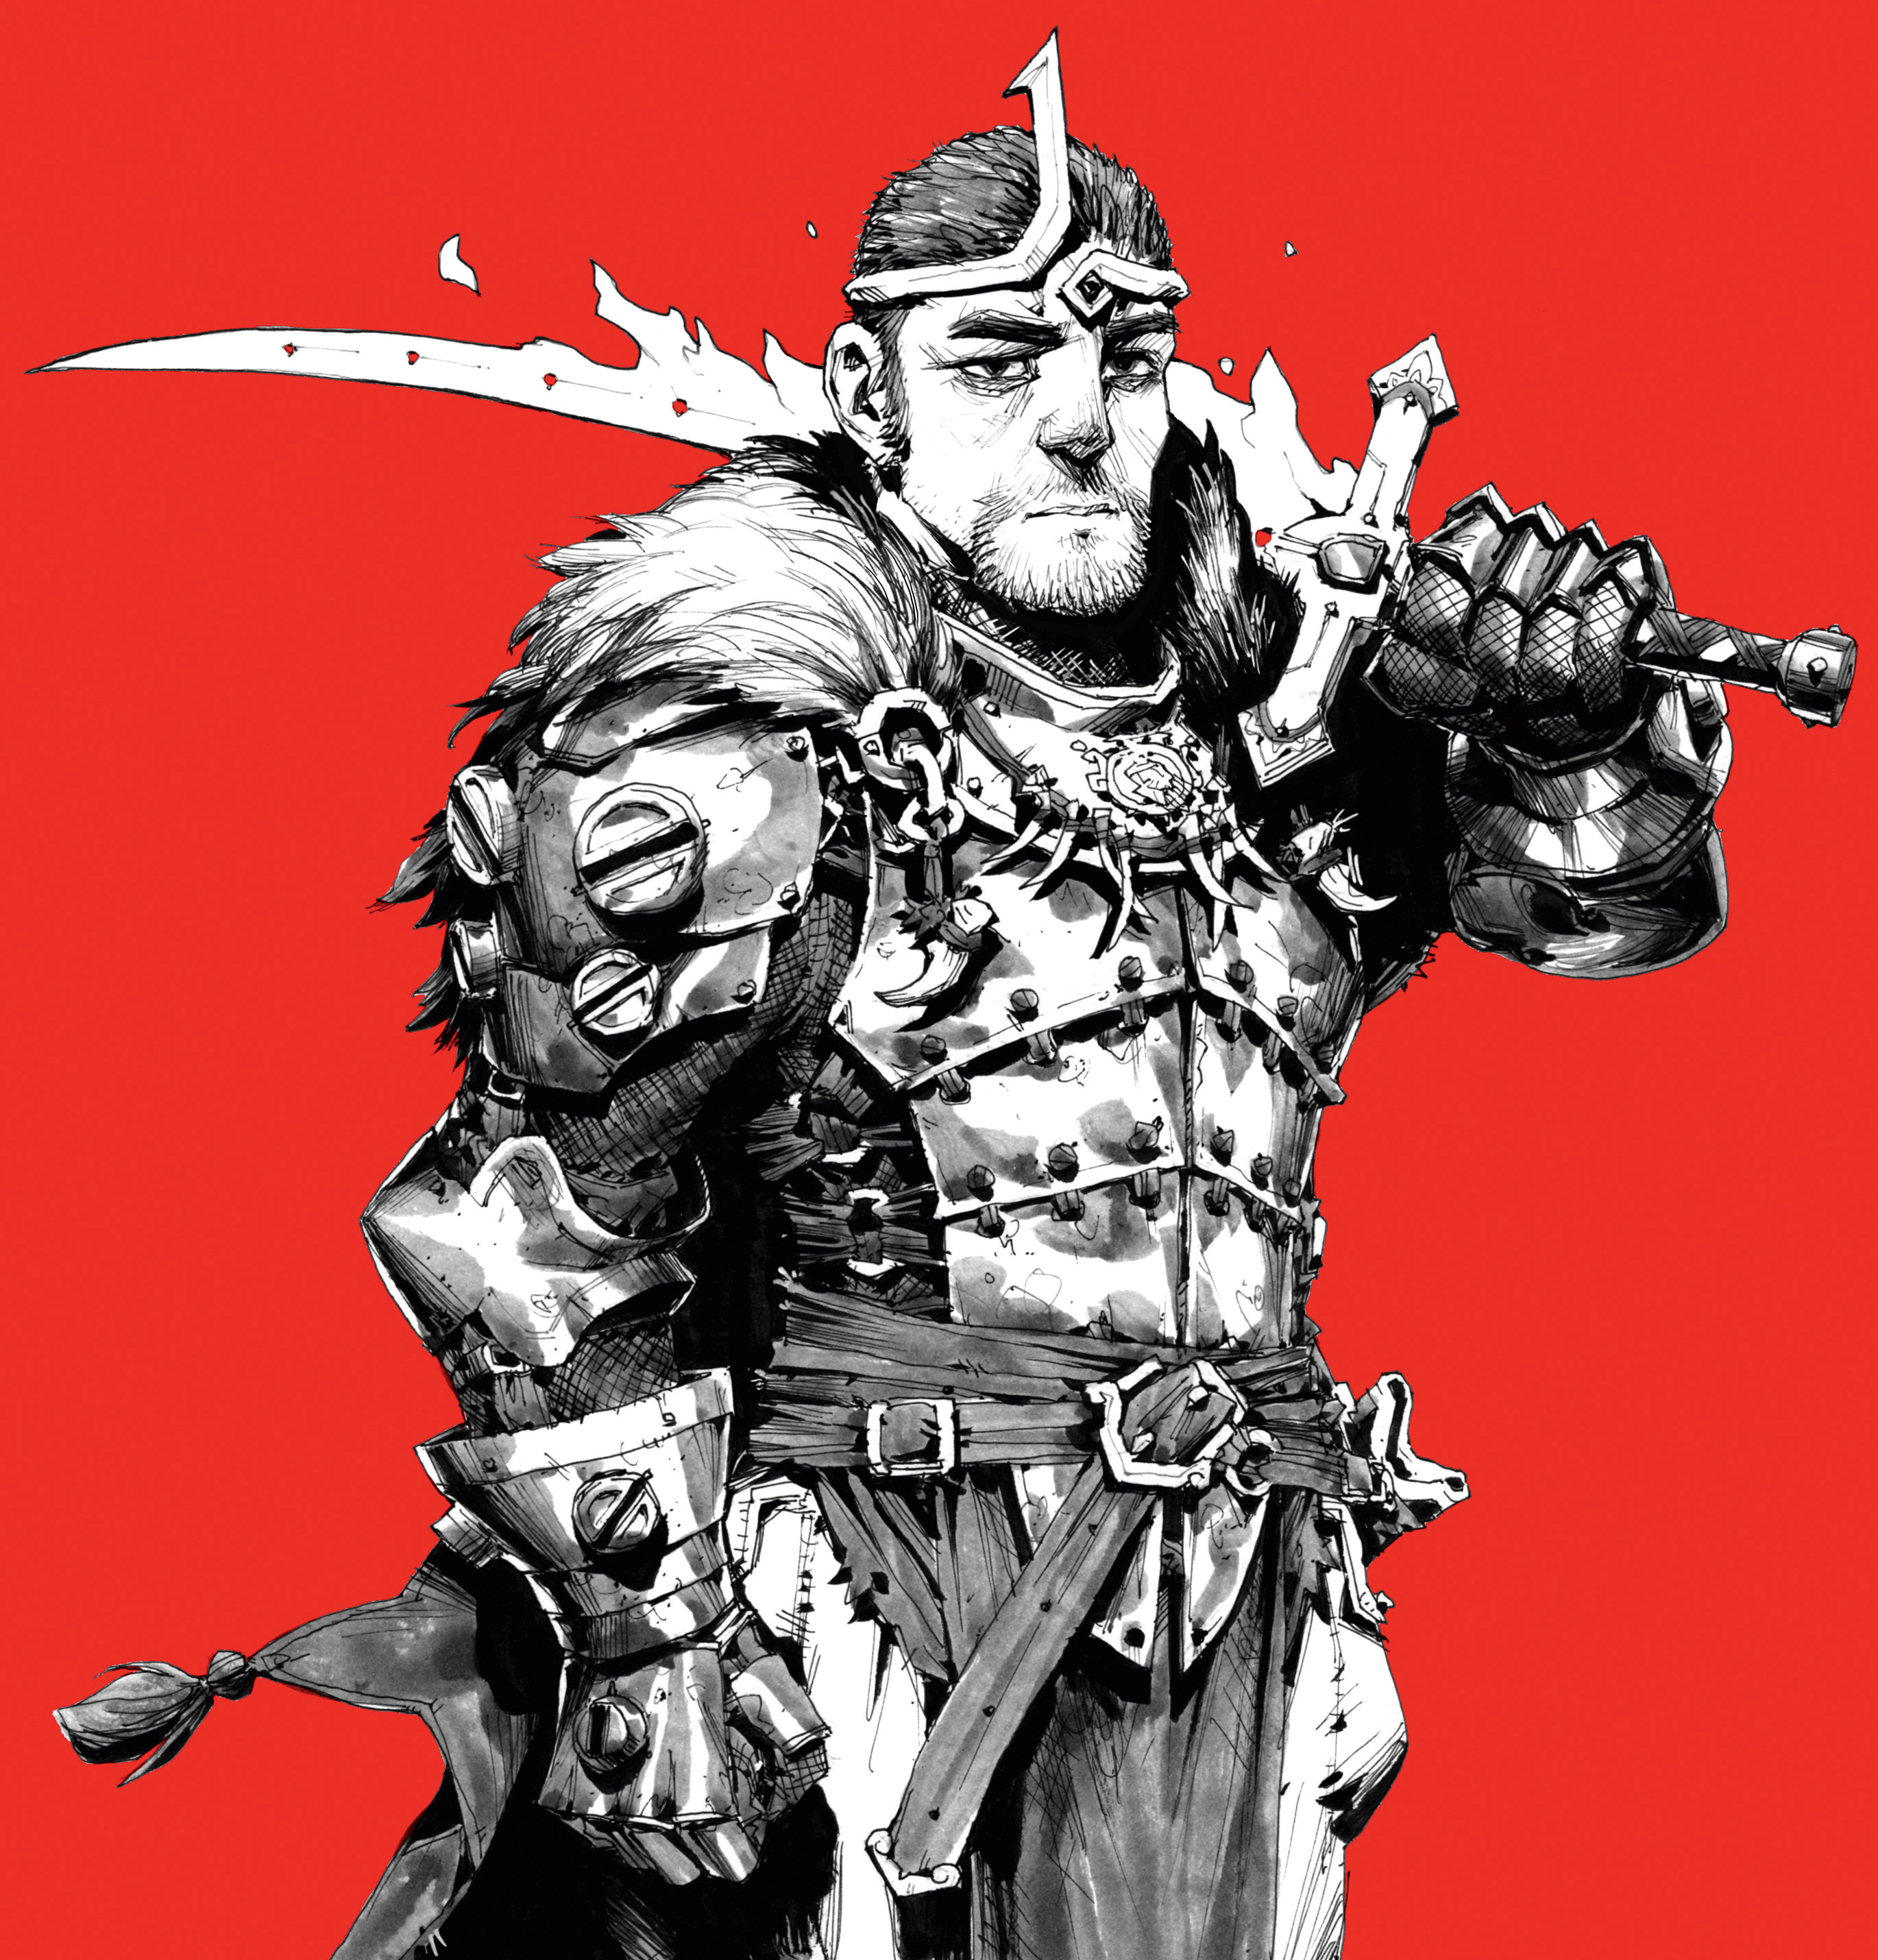
xi. Finish the painting in Photoshop
(opens in new tab)
Subsequently scanning, I make a few small tweaks in Photoshop (go Adobe Creative Cloud here (opens in new tab)) and mask out the character from the negative space using the Magic Wand tool. I contract the selection by a few pixels and fill it with white, and then on a carve up layer, fill the background with a assuming red to end information technology off.
(opens in new tab)
This article was originally published in ImagineFX (opens in new tab) , the globe's best-selling mag for digital artists. Subscribe to ImagineFX (opens in new tab) .
Read more than:
- The all-time figure drawing books (opens in new tab)
- 20 sketching tips to assist you make your first marks (opens in new tab)
- The best Huion drawing tablet (opens in new tab)

Give thanks you for reading five manufactures this month* Join now for unlimited access
Savour your showtime month for just £1 / $i / €1
*Read 5 free articles per calendar month without a subscription
Join at present for unlimited access
Attempt beginning calendar month for only £i / $1 / €ane
Related articles

How To Get Ink Out Of Pens,
Source: https://www.creativebloq.com/how-to/draw-a-character-in-pen-and-ink
Posted by: garciacolith.blogspot.com
0 Response to "How To Get Ink Out Of Pens"
Post a Comment